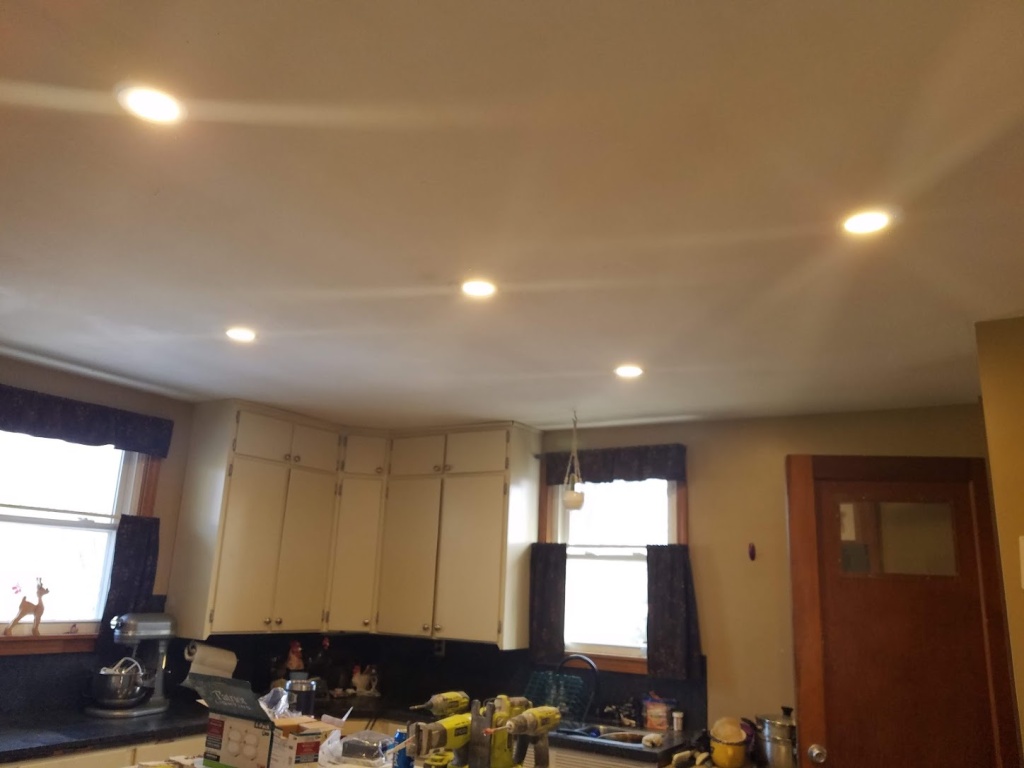
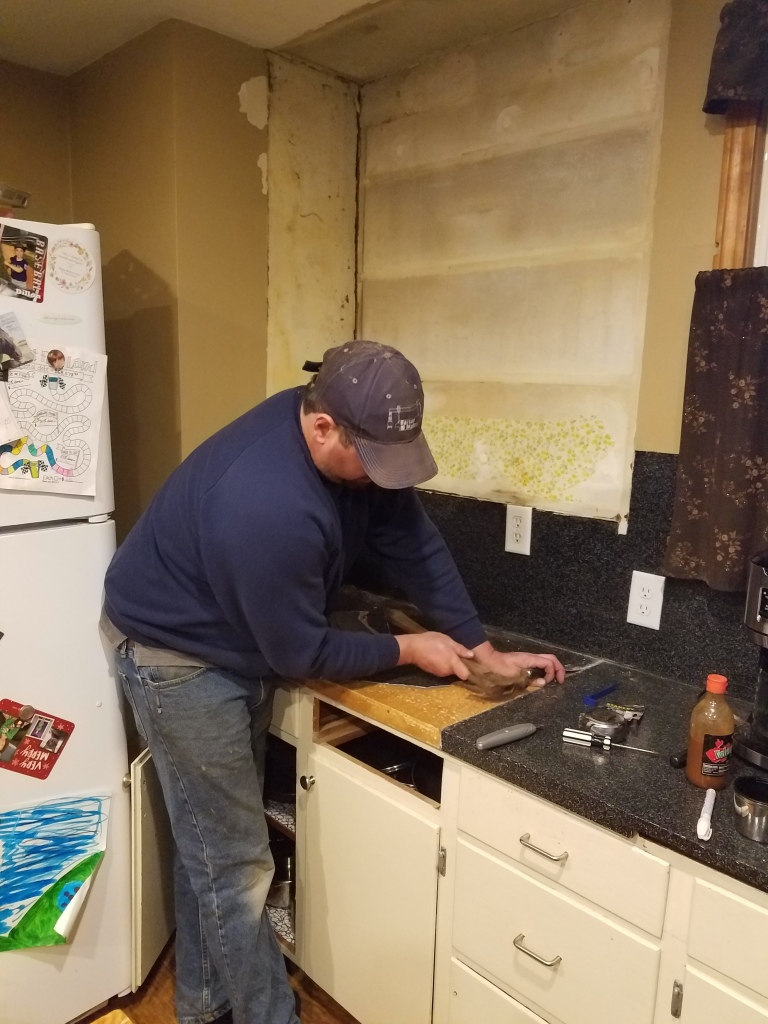
As the months have quickly passed in 2021, more progress has been made in the kitchen.
Previous post: Kitchen Update #1
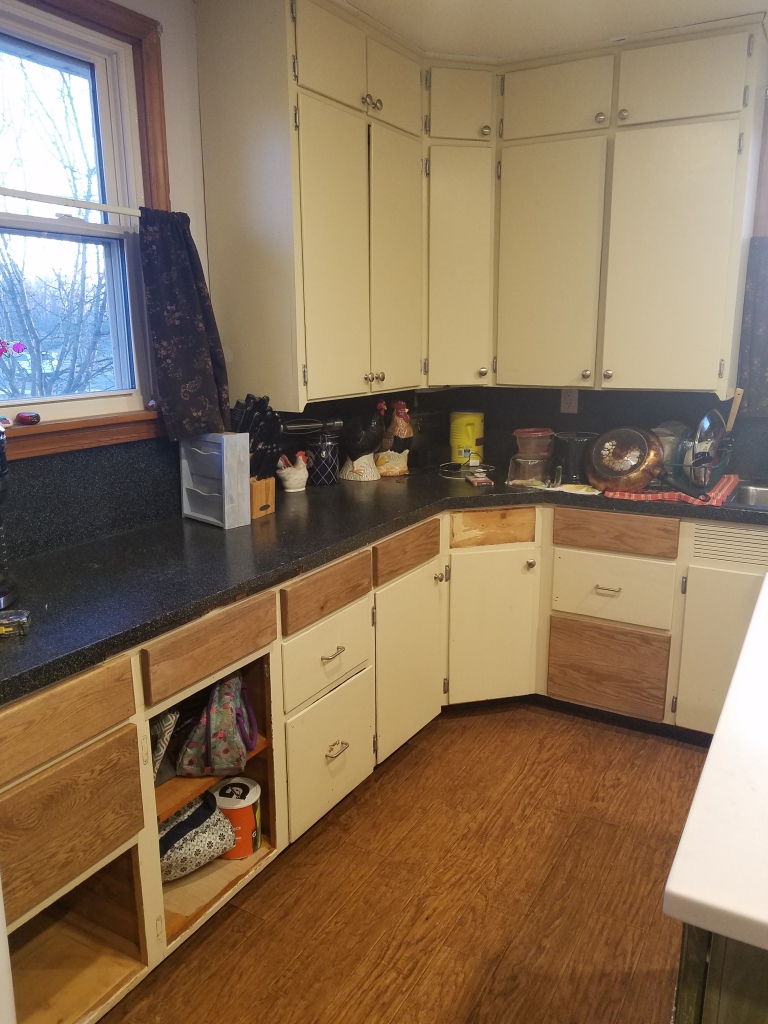
More Kitchen Updates

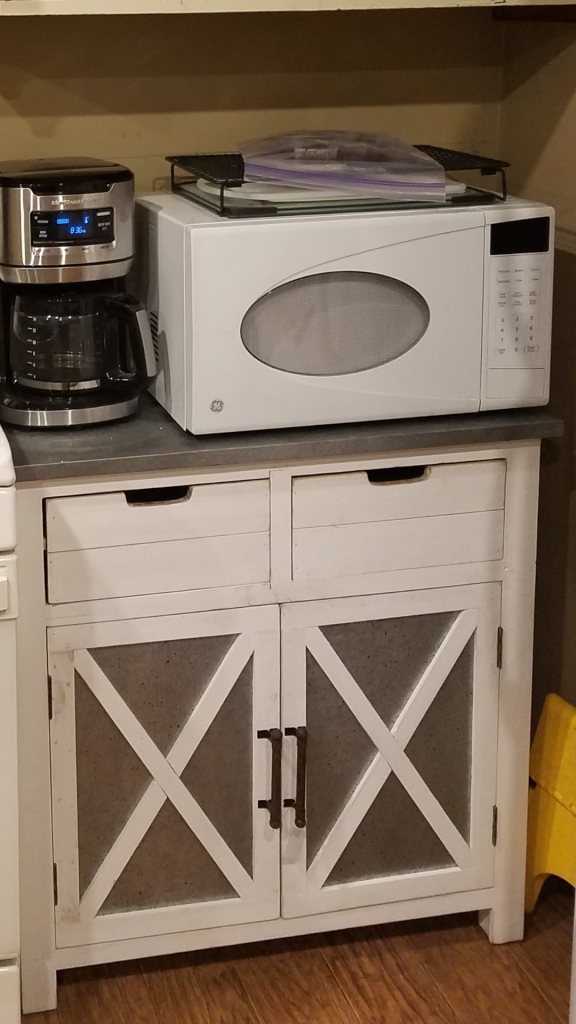


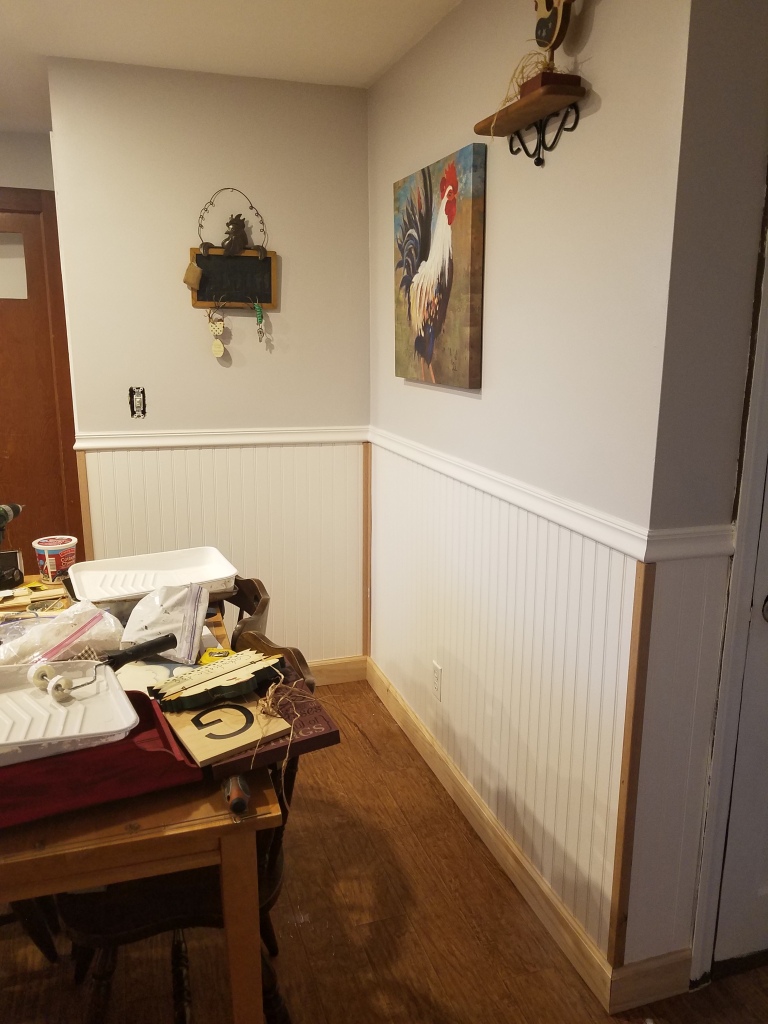
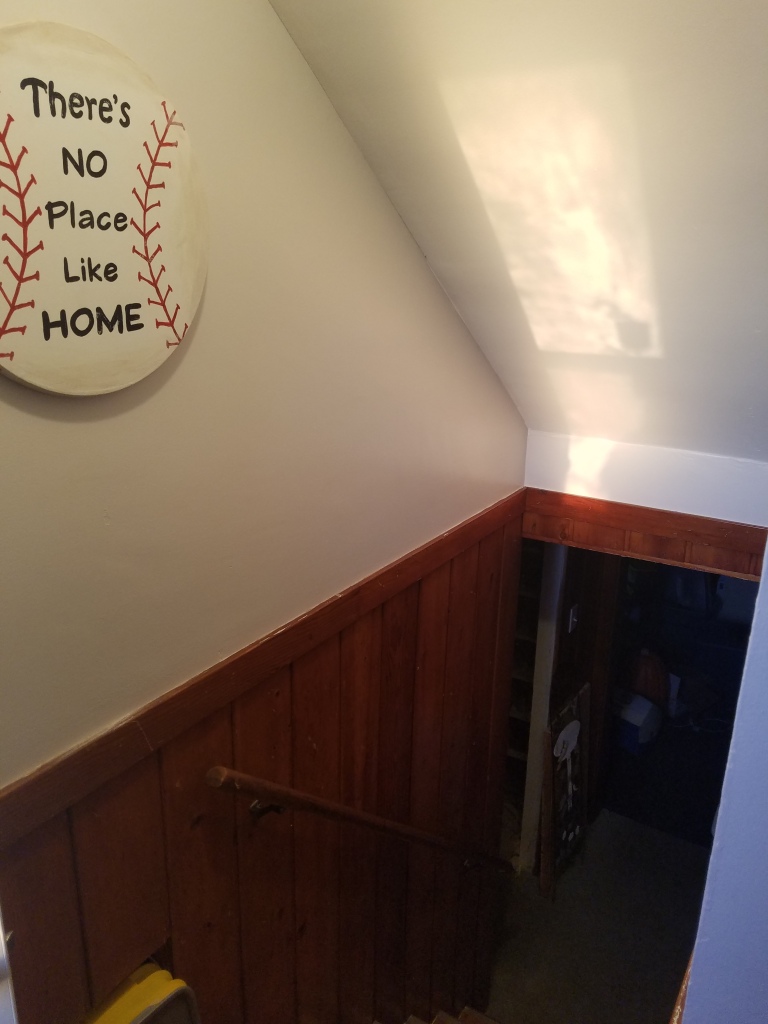

A look at the landing up towards the kitchen.


As the months have quickly passed in 2021, more progress has been made in the kitchen.
Previous post: Kitchen Update #1
A look at the landing up towards the kitchen.
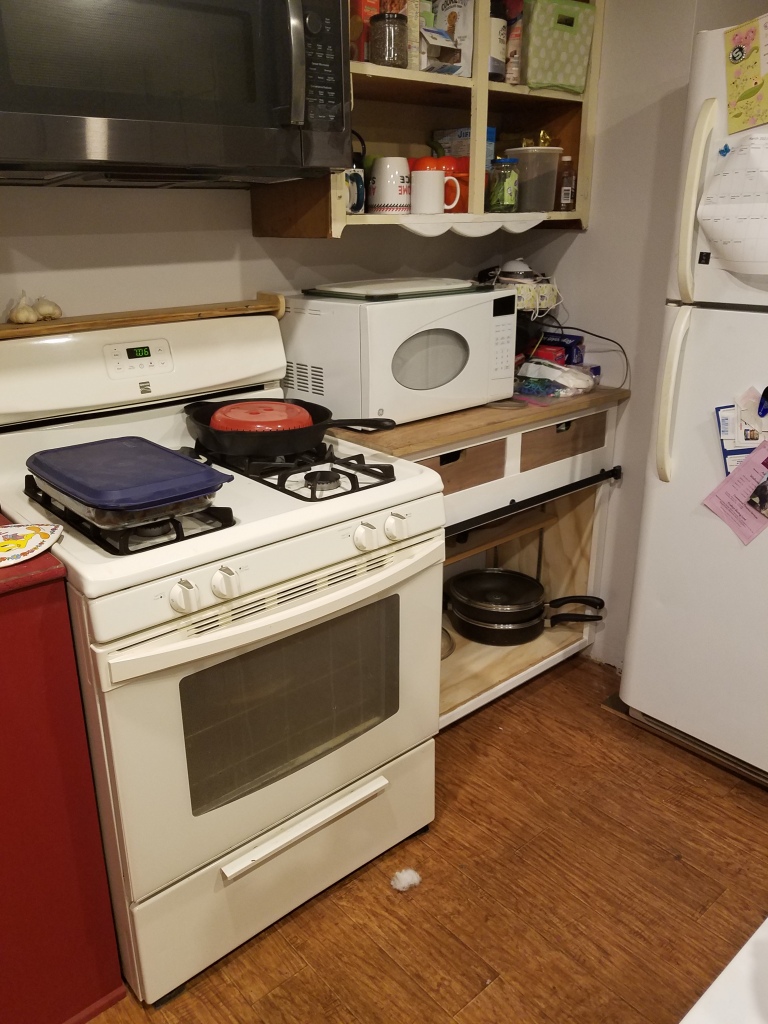
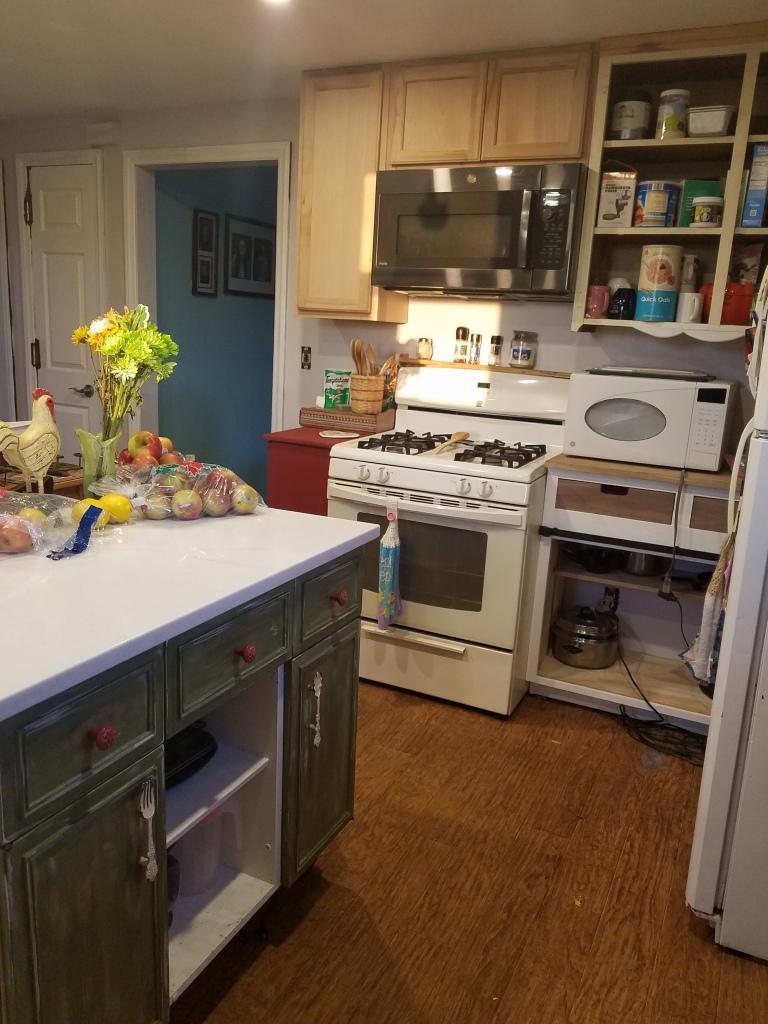
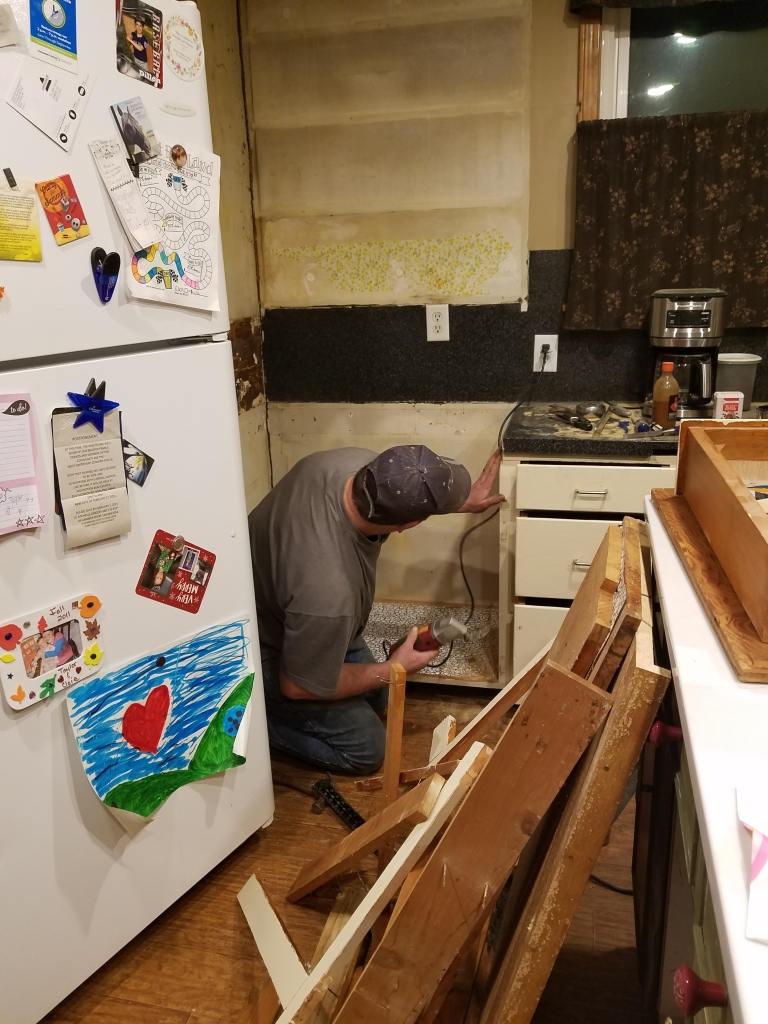
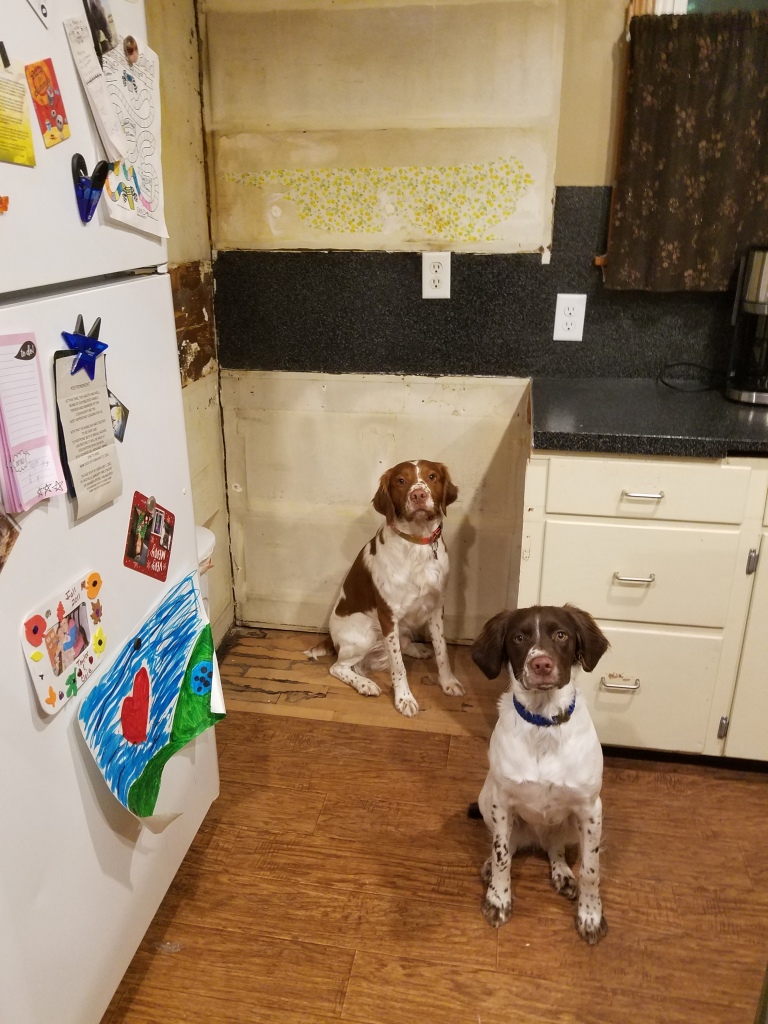
The one room in the house that gets me the most irritated is the kitchen. There are so many areas I don’t like but haven’t put much money into the room because it functions (for the most part) and can get extremely costly which I don’t want to do. This girl is on a budget. ;o)


Ah, 2020. What a LONG A$$ year you have been.

I was supposed to be married on May 9, 2020 like many brides; but you, 2020, had other plans.
I had vacations planned and those got cancelled.
My kids were forced to do online schooling which is a huge headache, let me tell you.
The year 2020 each month shown below.


Despite the downs 2020 has given everyone in general, I have learned to slow down and take time out for me (self care).
I have learned that I am blessed where I work.
I am blessed I’m debt free during a year when employment isn’t guaranteed and raising costs of living are running ramp-it.
I’m blessed I have an emergency fund so I don’t have to rely on someone else (aka: the federal government) to bail me out.
I am blessed my immediate family has remained healthy and safe.
As for 2021, I am hoping to achieve:

I am always reading, learning, eager to grow my knowledge and skill set.
Some of my current topics of learning is of FIRE (financial independence, retire early). So wish I know about this 15 years ago! Despite the late discovery, it will be something I will want to implement when I’m at Dave Ramsey’s baby step #7.
If you know me or have followed me you are aware that I’m a Dave Ramsey follower and a money nerd. 🙂 I am currently on baby steps 4 -6. Those steps if you aren’t familiar are: 4) 15% of income into retirement account 5) Percentage of money going into the children’s college fund 6) Pay off mortgage early.
Back in September 2019, I refinanced my mortgage to get my ex off. I refinanced at a 15-year fixed rate (per Dave) since my previous mortgage was a 30-year (pre-Dave). I also have decided that I wanted to pay the mortgage within 6 years (2025 – before my youngest graduates from high school – EEKK!) instead of 15 based on paying at least an extra $250+/month. I feel my goal obtainable and will keep my inspired.
Since I refinanced my mortgage I had paid off $2,769.80 in principle in those 3 short months in 2019. As for 2020, right now as of the date of this post, I have paid over $11,700, with a principle balance of just over $55,000!
My future goals are as follows:
2021 pay mortgage down to $45,000
2022 pay mortgage down to $35,000
2023 pay mortgage down to $25,000
2024 pay mortgage down to $15,000
2025 pay mortgage down to ZERO!
See! An obtainable goal! Will there be hiccups along, the way, sure. Will there be tough years, sure! Will there will be great years, heck yeah!
I have a little chart on my refrigerator tracking my progress which is VERY exciting! Each month when I make my payment, I get excited if I can color in another square, moving one – maybe 2 step(s) closer to my goal of being 100% debt free! 😀


In the picture above you may notice numbers along the colorful path. I have used my shorthand to “document” where I’m at on the path. For example: 3.20 = March 2020. Very highly sophisticated, I know. ;D
I got this wonderful Debt Free Land layout from debtfreecharts.com for anyone who would like their own Debt Free Land game board on their refrigerator.
I have been making homemade chicken noodle soup for my family for over a year and I seem to never make it the same. Recently my husband stated he would help me by making the soup for me but didn’t have my recipe – I never wrote it down. I was told I need to. LOL
So after making the soup yesterday on my afternoon off of work, I decided I would write it down and share my recipe. 😀 Yup, I know; I’m nice like that.
TOTAL Time: approximately 5 hours
Cooking Time: chicken 3 hours, soup approximately 2 hours

6. I have a gas stove so you may have to alter your stove settings for electric. I turned the stove on to medium heat to brown the garlic and onions. Be careful not to burn it! Stir occasionally until onion and garlic are golden brown. (Approximately 5 minutes.)
7. Add rest of the chicken stock into the pot. Also add 2 cups of water.
8. In a separate multi-cup measuring bowl, pour in 4 cups of water and I mix in a tablespoon of a local restaurant’s chicken soup base. You can substitute a bouillon cube or stock cube or broth cube here. Once mixed, pour into the soup pot. Cover and turn down to medium-low heat.

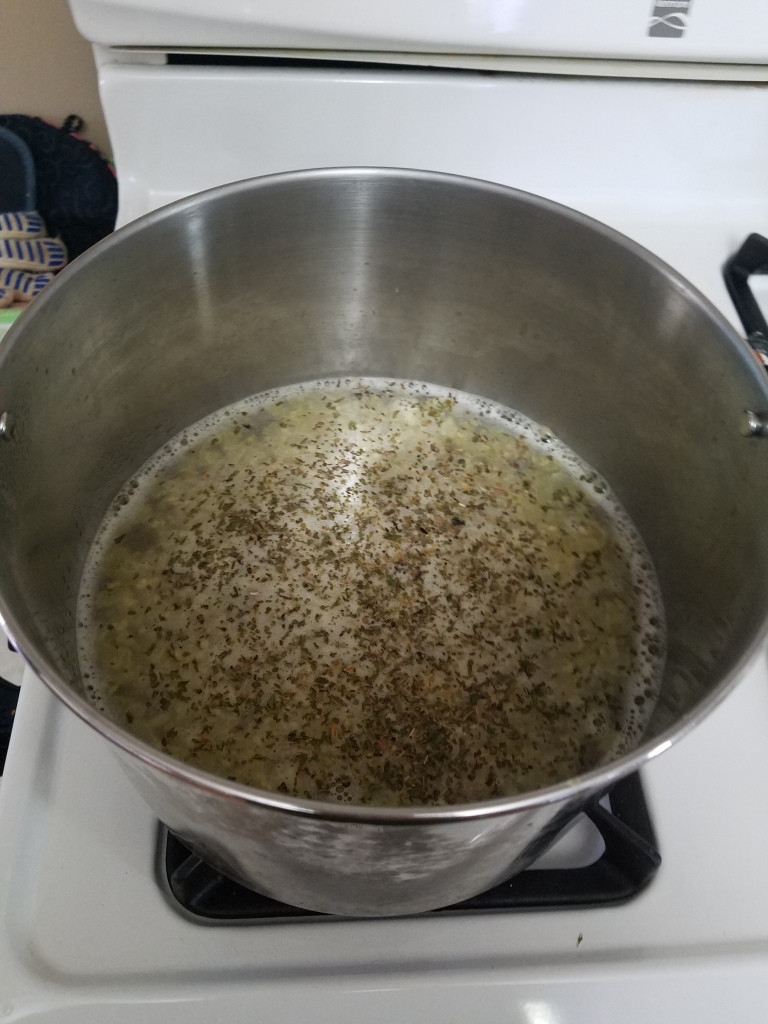
9. Add seasoning – generous amount of Italian seasoning and pepper, and a dash of salt. Don’t skim! When in doubt, at a bit more. ;D
10. Simmer on medium-low heat for at least 45 minutes covered. Check every so often and stir.
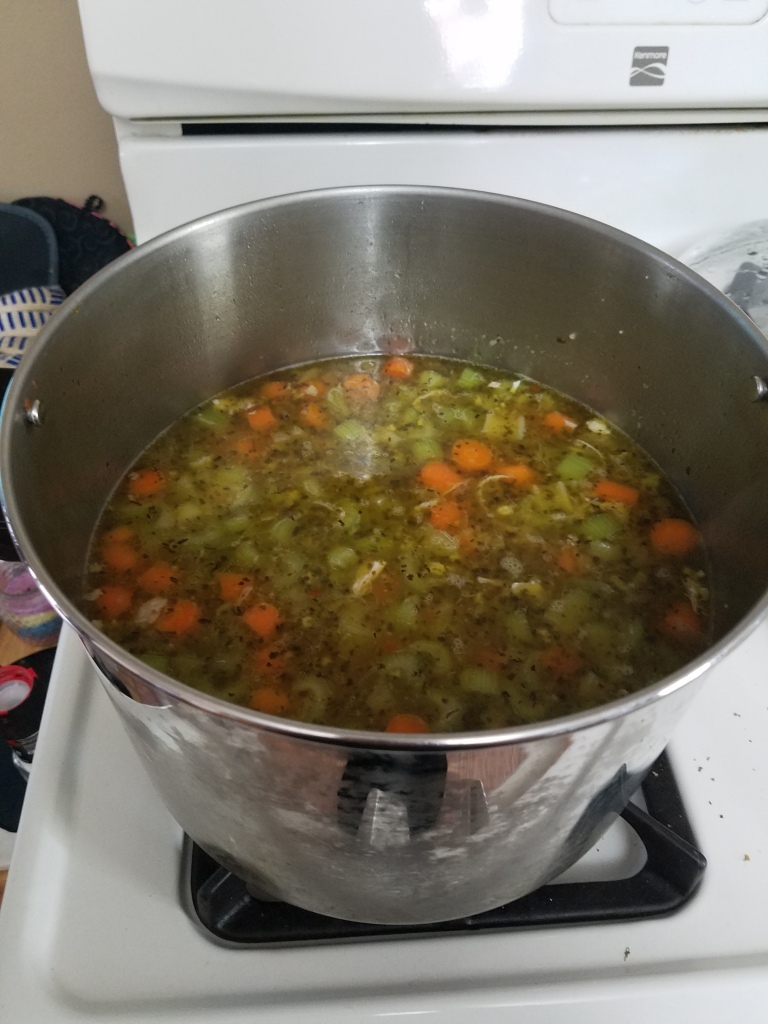
10. Cut up the baby carrots while the pot simmers. I cut them up into bite size pieces. Once all cut up, add to the soup pot! Save the bowl they chopped carrots were in. You will use it for the chicken soon!
11. Wash and chop up the bunch of celery into bite size pieces. Sit a side.


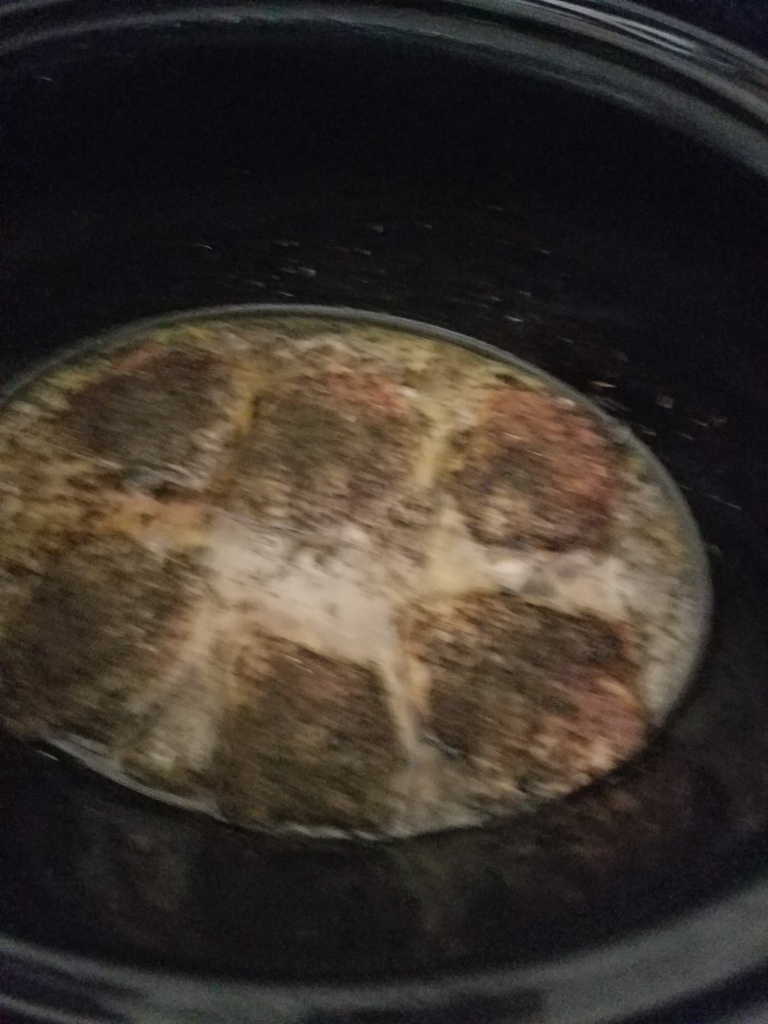
12. Take the chicken out of the crock pot (it should be cool enough to not burn your fingers. “Fork” the chicken into bit size pieces. Put pieces into used carrot bowl.
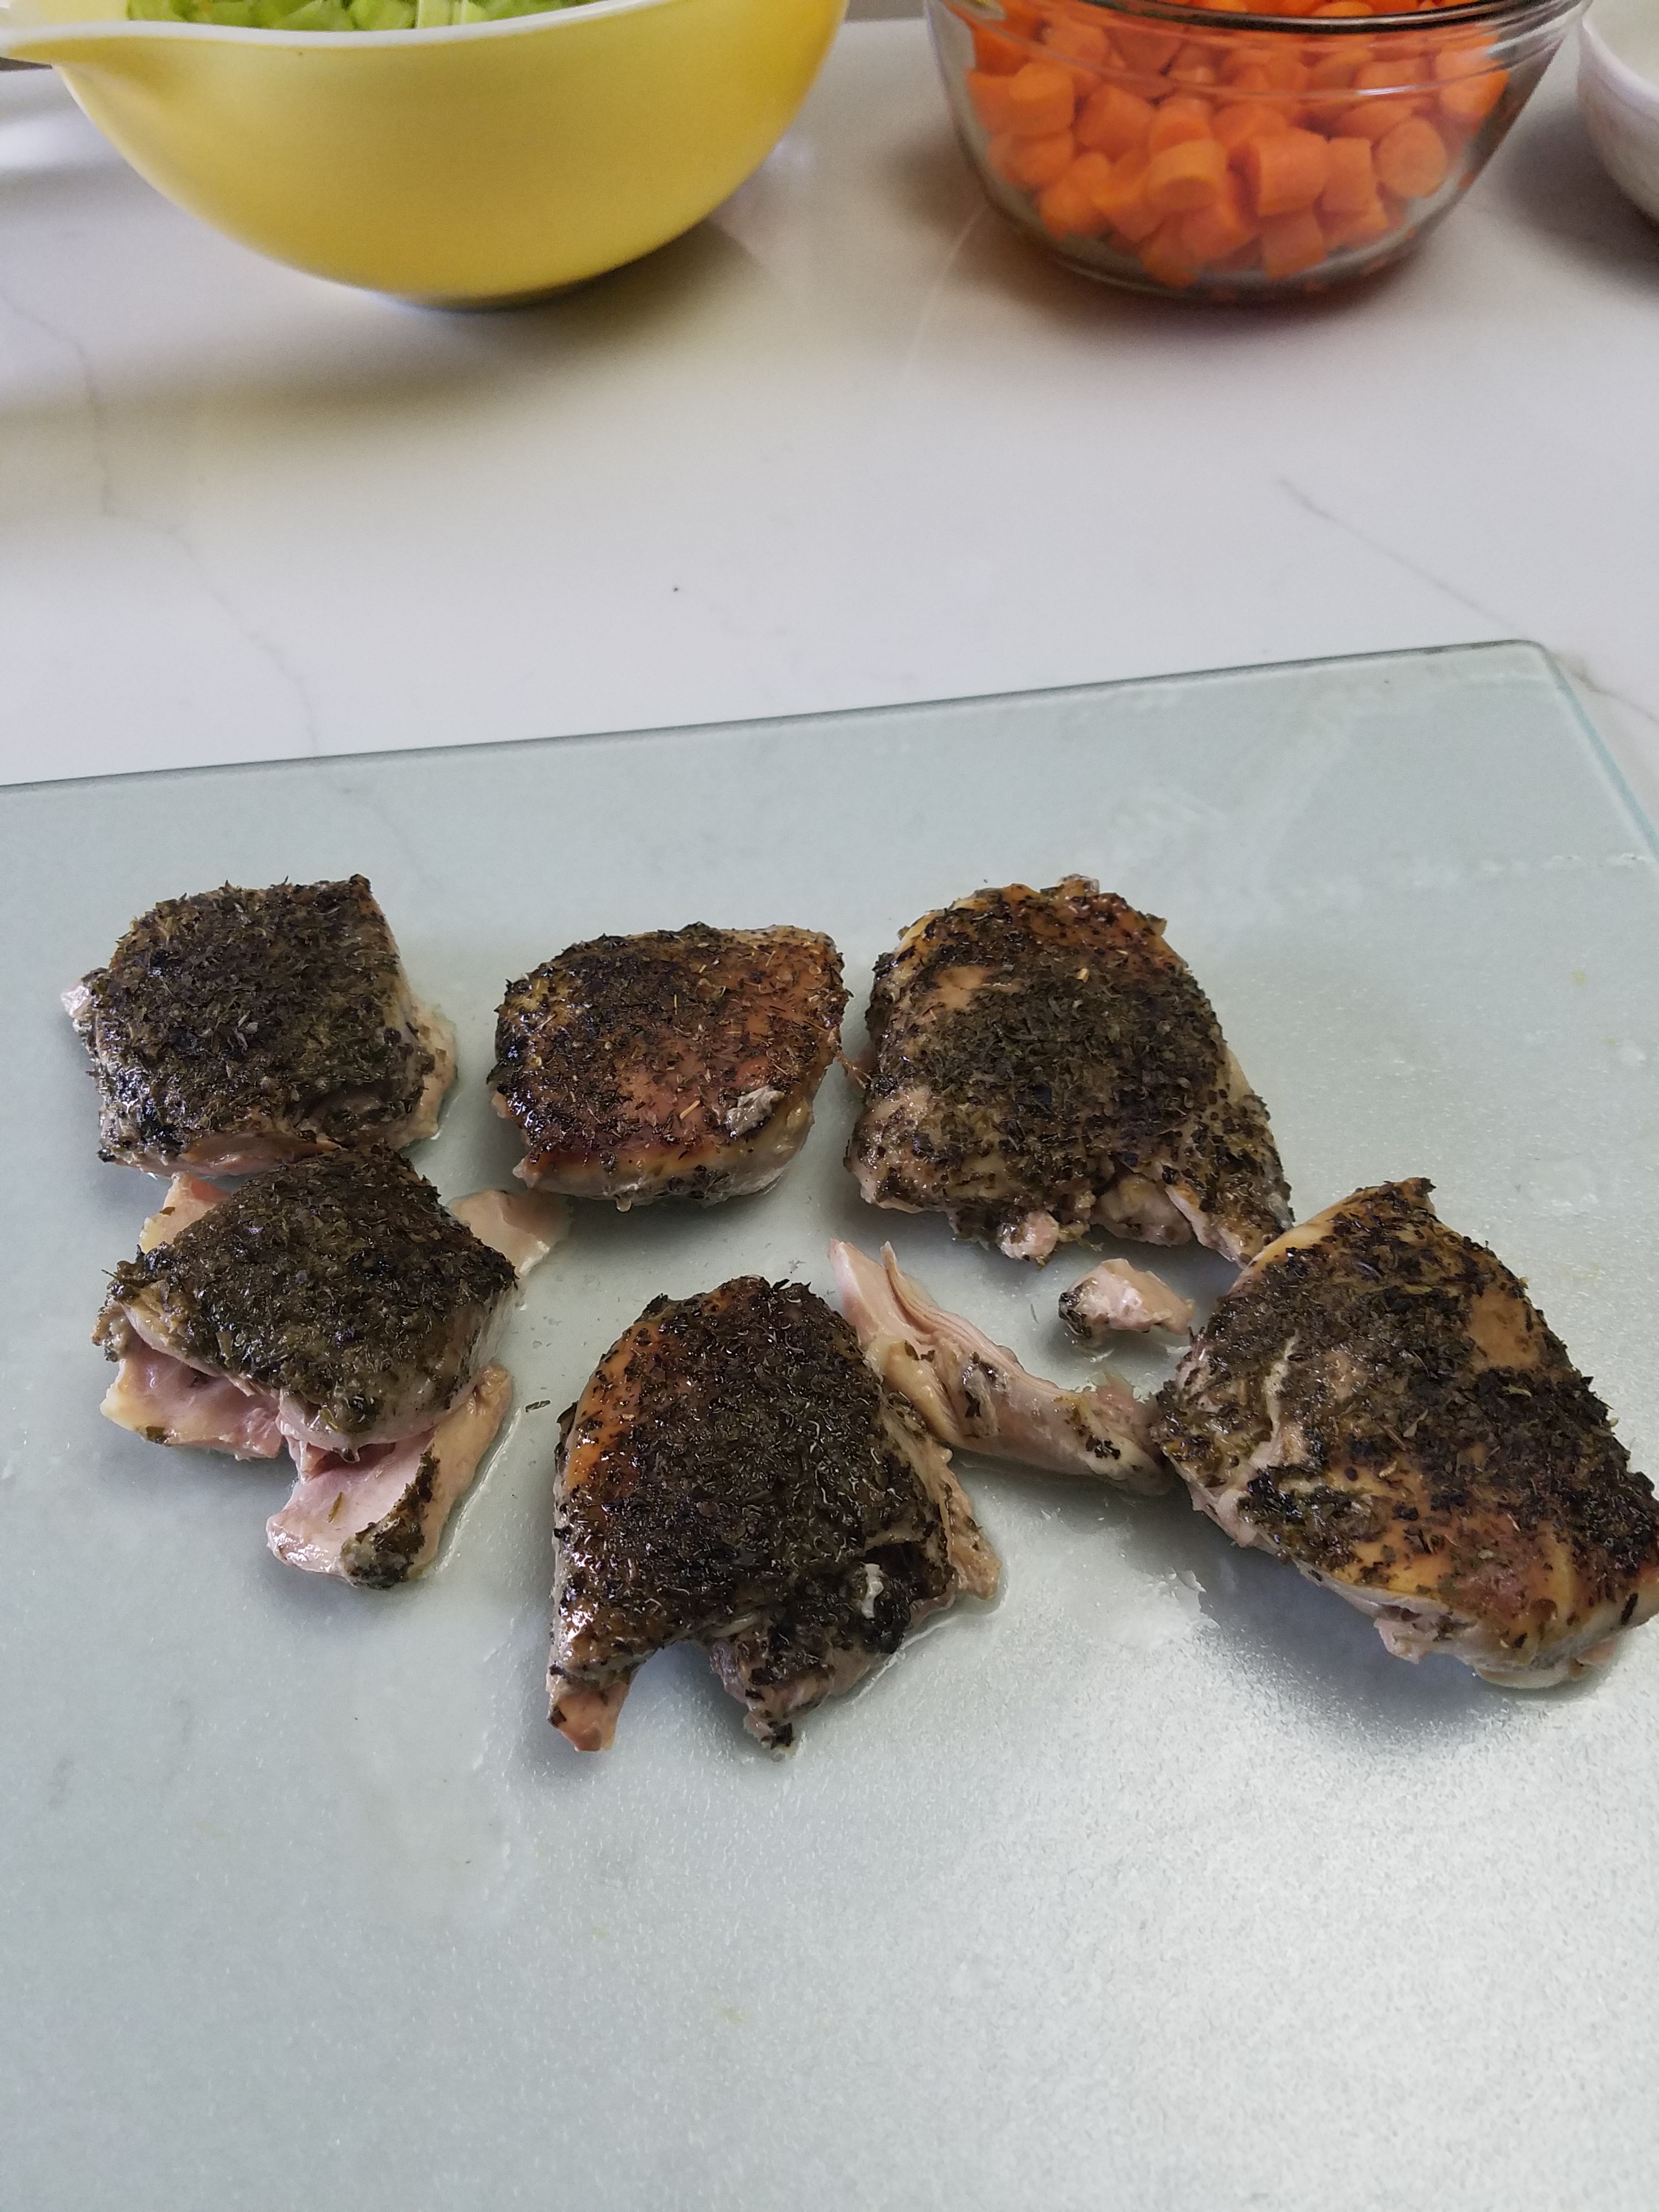

13. Check to see if the carrots are mostly cooked. Add celery, chicken pieces, and the “juice” from the crock pot into the soup pot. It should be looking and smelling good!
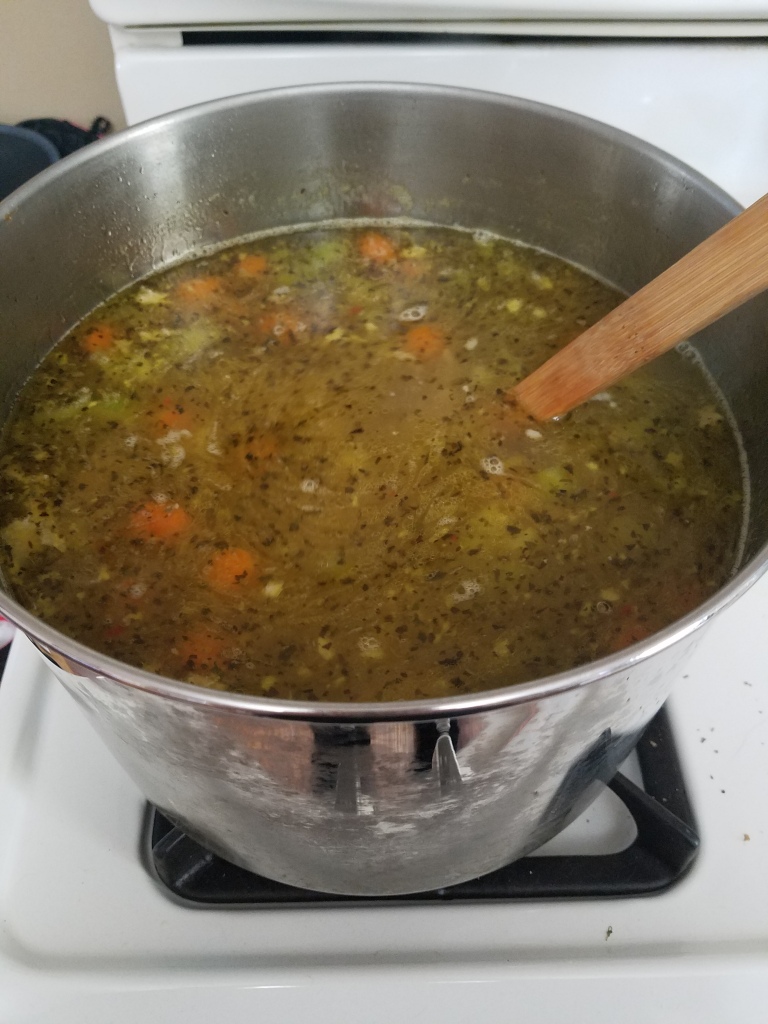
14. Re-season soup! Add a generous amount of Italian seasoning and pepper, and a dash of salt. Don’t skim! When in doubt, at a bit more. ;D Stir, cover and simmer for approximately 15-20 minutes.
15. While soup is simmering, in a separate pot, cook the egg noodles per the package directions. I use my chicken base mixture instead of water to give my noodles more flavor.
16. After the soup has simmered, add noodles to the soup (and I add the base mixture the noodles cooked in too!) Stir.

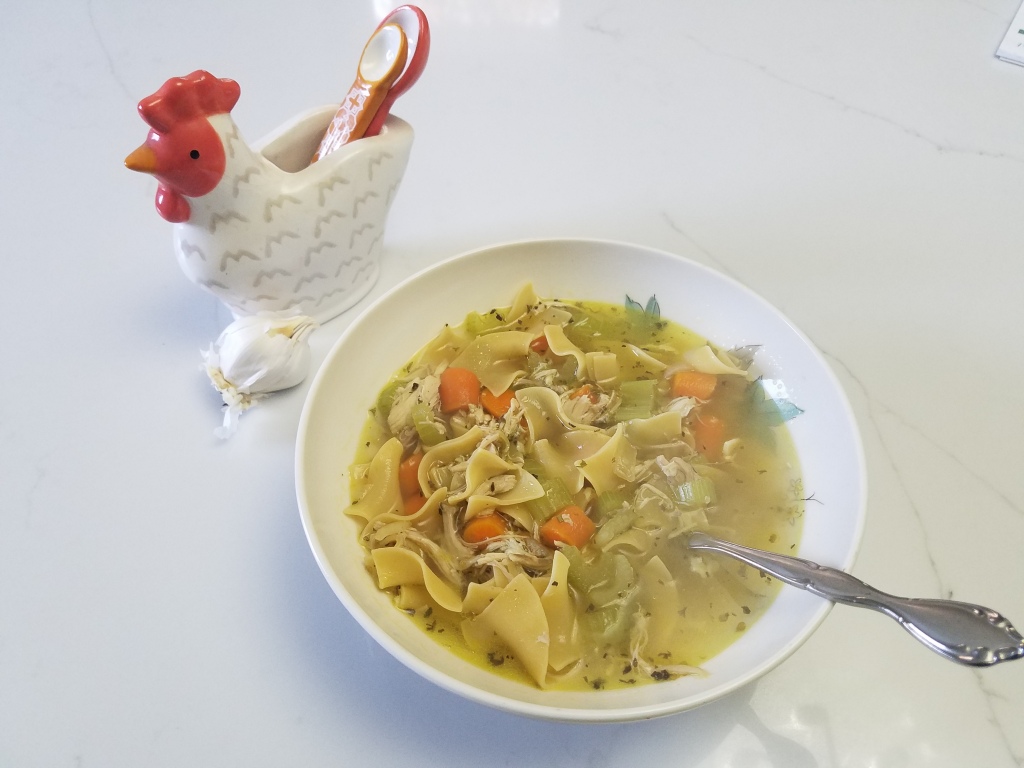
I was pretty proud of myself as I actually waited 15 minutes for the soup to cool before I started eating it. I normally try to eat it right away so excited, I burn my whole mouth. 😦
I hope you enjoyed my recipe and let me know what you think of it. I love it so that I make it twice a month and probably eat half of it myself. LOL
